
Why You Need a Blog in 2020
Before we get started into the nitty-gritty, I want to re-enforce you why you need a blog this day and age and why it’s relevant.
Now I could probably list hundreds of reasons why having a website or blog is crucial to anything related to growth or business. Some of those things may be reasons like “It brings a level of professionalism” or “It makes you look established”, but there is really one reason that sums it all up.
Having a website allows you to be seen and searched by the world. Let that sink in for a bit.
If you had an idea you shared with your friends, that idea is limited to the people you talk to. But if you put that idea on the internet, it has the potential to be seen by the world. No matter how big or small, having a website gives you the potential for reach.
The Internet Isn’t Getting Any Smaller
When the internet first came out, there were a lot of people saying it would never become popular, just like mobile phones and bicycles. But now it has over 3.2 billion people using it, and that number isn’t getting any smaller. So if you’re thinking about building a business, setting up a website is a no brainer. It just makes sense to advertise your business where people spend the most time. You’re in the right place! Let’s get started.
Please note: I have tried to provide as much value as possible in this website. As it’s based in the digital marketing space, it does also contain affiliate links for programs mentioned. If you decide to follow through and purchase items, I may earn a referral bonus which you can learn more about here.
How to Start a Blog
The first thing you want to do is, decide what kind of blog do you want to make. What I mean by this is do you hope to make money from your travel blog? Or are you making it just to show to your friends in family? The difference is to be eligible to make money on your blog, you will need to “Host” your own website, but if you are simply just making a personal blog that you can show friends and family, you can just use an already hosted one at WordPress.com
HOWEVER. If you ARE wanting more to make money with your blog (I highly suggest you do) then you will need to get Hosted.
Step 1. Getting Good Hosting
So what does “hosting” even mean? Well the technical term is “(a website or other data) on a server or other computer so that it can be accessed over the Internet” which pretty much means it is somewhere to build your website and own it (unlike free blogging platforms and websites). 99.9 percent of the worlds websites are hosted.
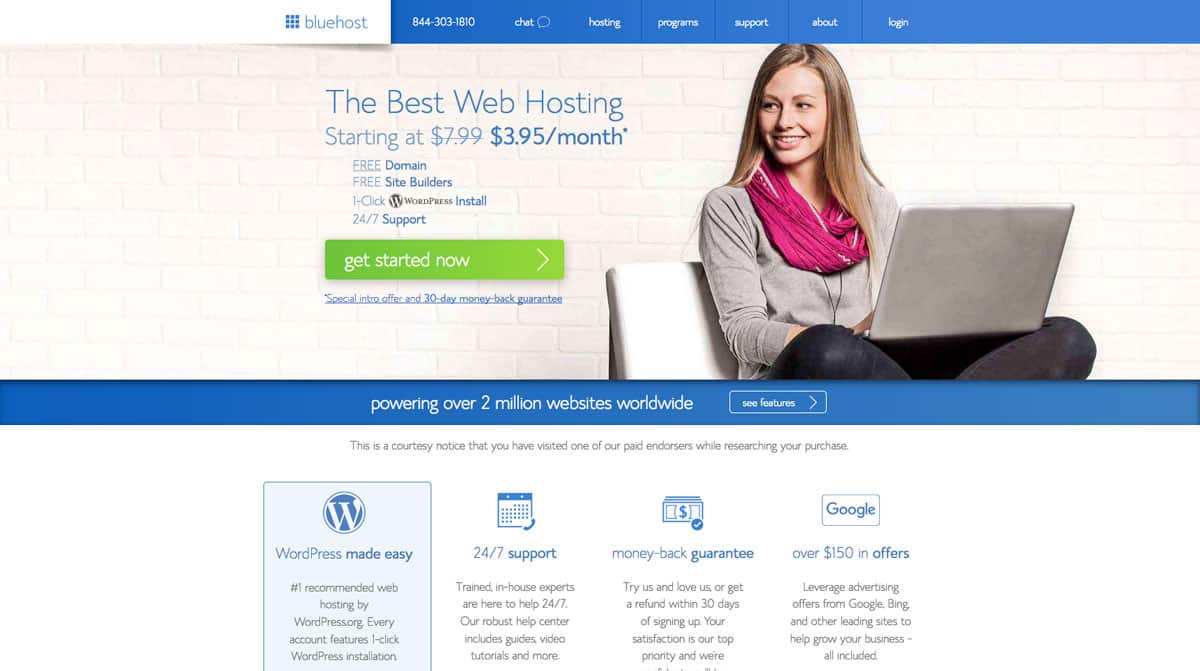
I personally recommend you use Bluehost for hosting for a few reasons, 1. it’s cheaper than most, 2. it has amazing customer service 24 hours a day, 3. it has fast web page loading, 4. it is really easy to use and 5. you get a free domain on sign up (your custom name for website eg: www.yourcustomwebsite.com). You will notice most bloggers use and recommend bluehost too as their preferred hosting service. The cost is as little as $3.95 per month.
In this tutorial I will be walking you through using bluehost, so to get started building your new Blog, simply click the green Get Started Now button.
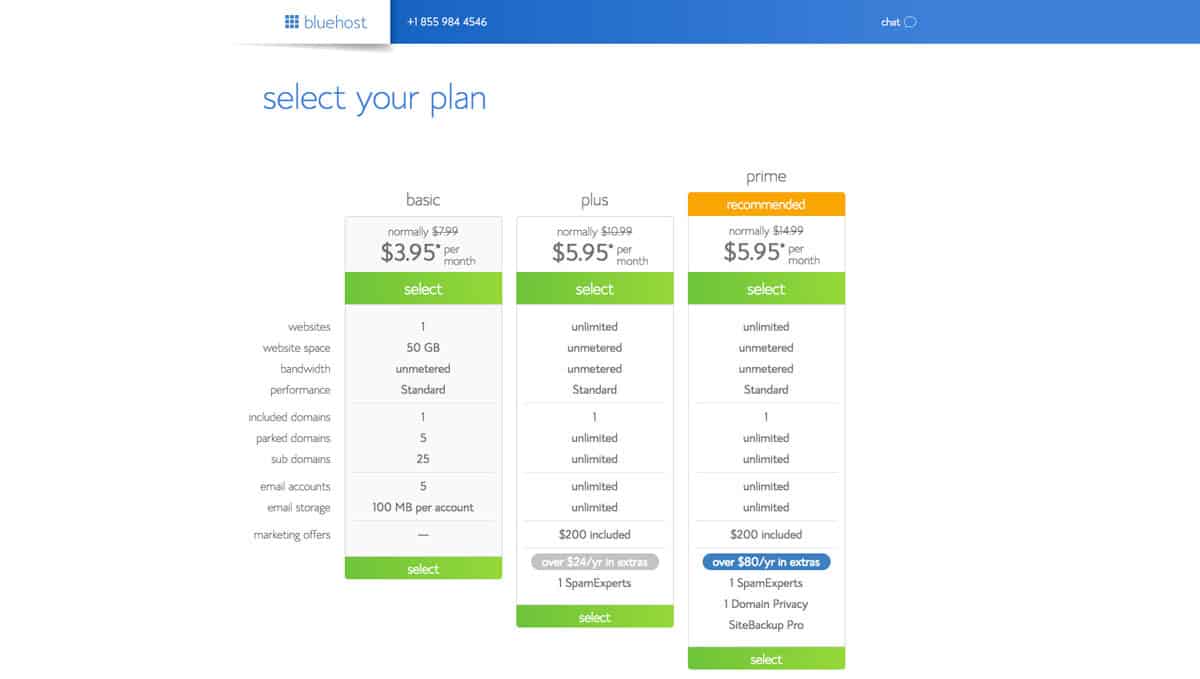
Now you can select what plan is best for you, if you are just new I suggest you just get the “Starter” package, that way you can still host an epic website with everything you need at the lowest price. You can always upgrade later on to suit your needs.
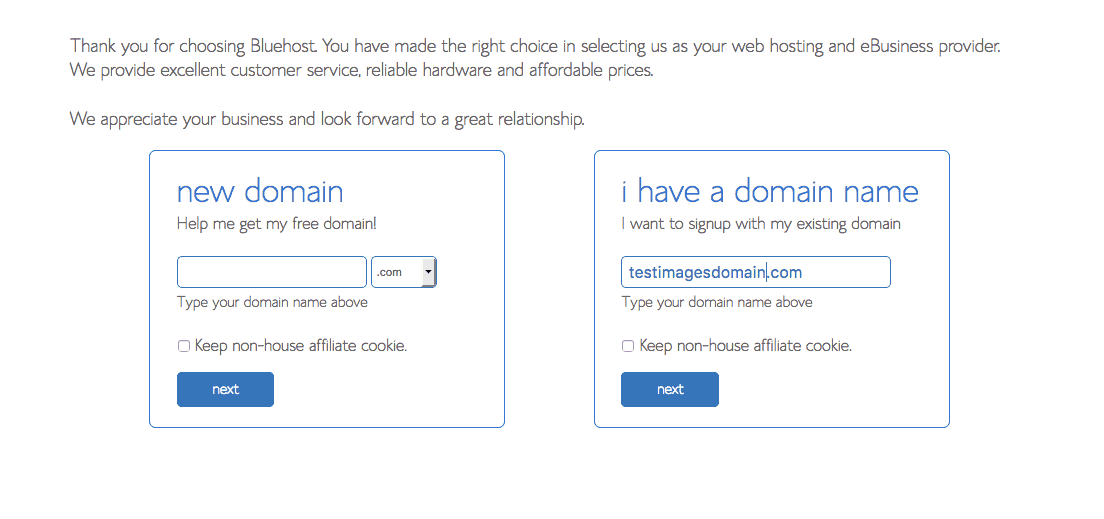
Next, choose the box on the left and decide on your new free domain name:
You’ll be taken to a page where you can decide on your package and some extra services:
For your account plan, you can choose basic hosting plans for 12, 24, or 36 months. I recommend you go with the 12-month plan for $5.95 as anything can happen within a year. Then again, if you are someone who is very passionate about making your travel blog last, then get the bargain at $3.95.
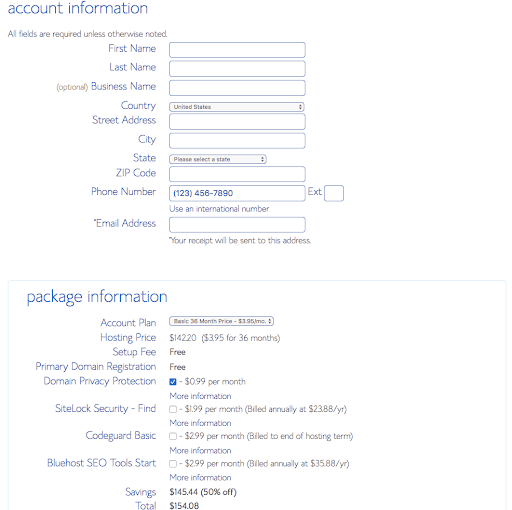
For the add-ons on the list, you don’t need Search Engine Jumpstart or SiteLock Domain Security. You can pay for the Site Backup Pro if you’d like but I recommend instead you get the the free plugin called “Updraft Plus”, it’s much better.
After your domain is secured and processed, it will once again offer you some more services but I suggest wait until you are in and search for your own theme you are after.
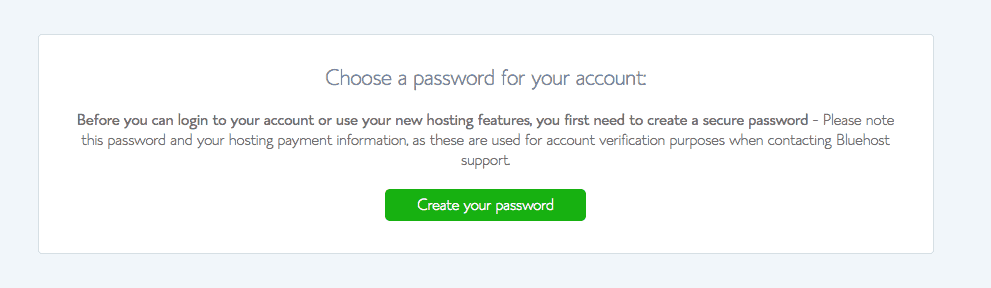
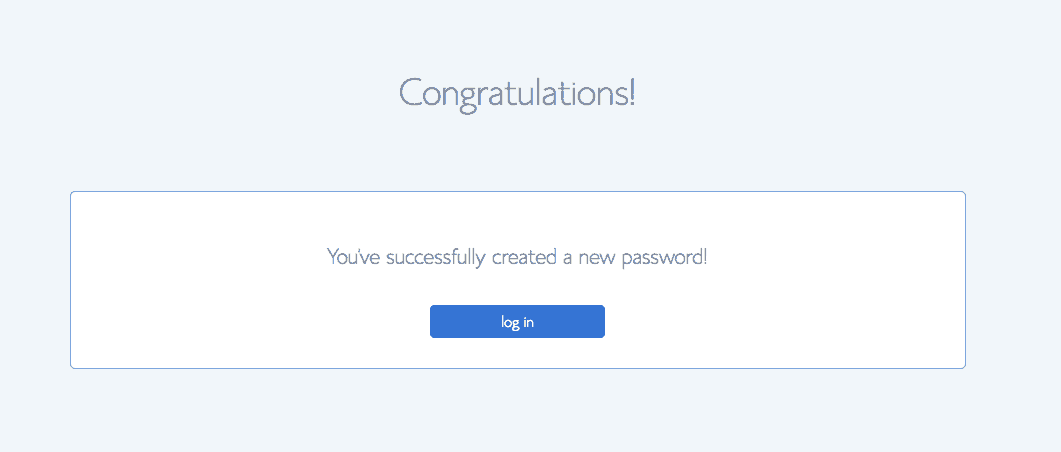
It will then prompt you to “Change your Password” to access your Bluehost account. Change your password and then it will take you to your back office where we can then Install WordPress!
Step 2: Installing WordPress
WordPress is one of the world’s largest publishing platforms. If you use WordPress for your blog it will be fully customisable and the sky is the limit to what you can do with it. I read recently that 33% of websites on the internet are WordPress based so you know you’re in good hands with them!
Bluehost really makes it easy now as it walks you through the entire process from automatically installing WordPress and you are even able to choose a theme, so it’s all ready for you to go!
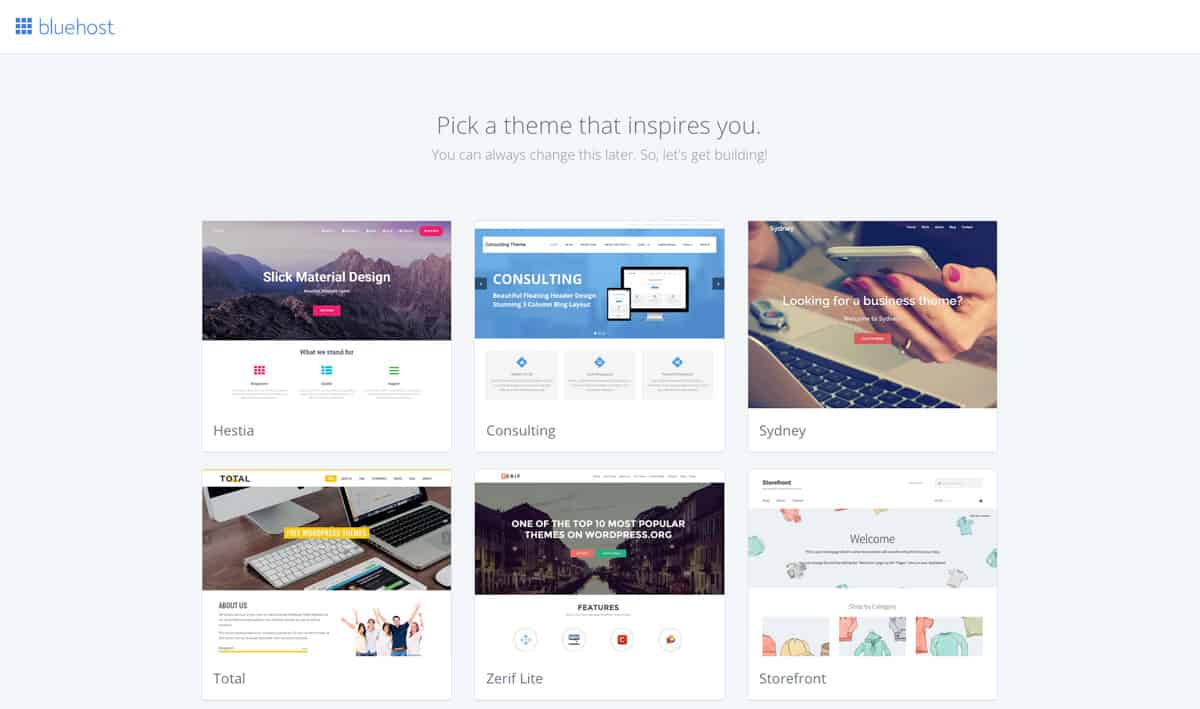
Once you have picked the them you wish to use, it will automatically install that theme to your new wordpress website within a minute or two. Very smooth process!
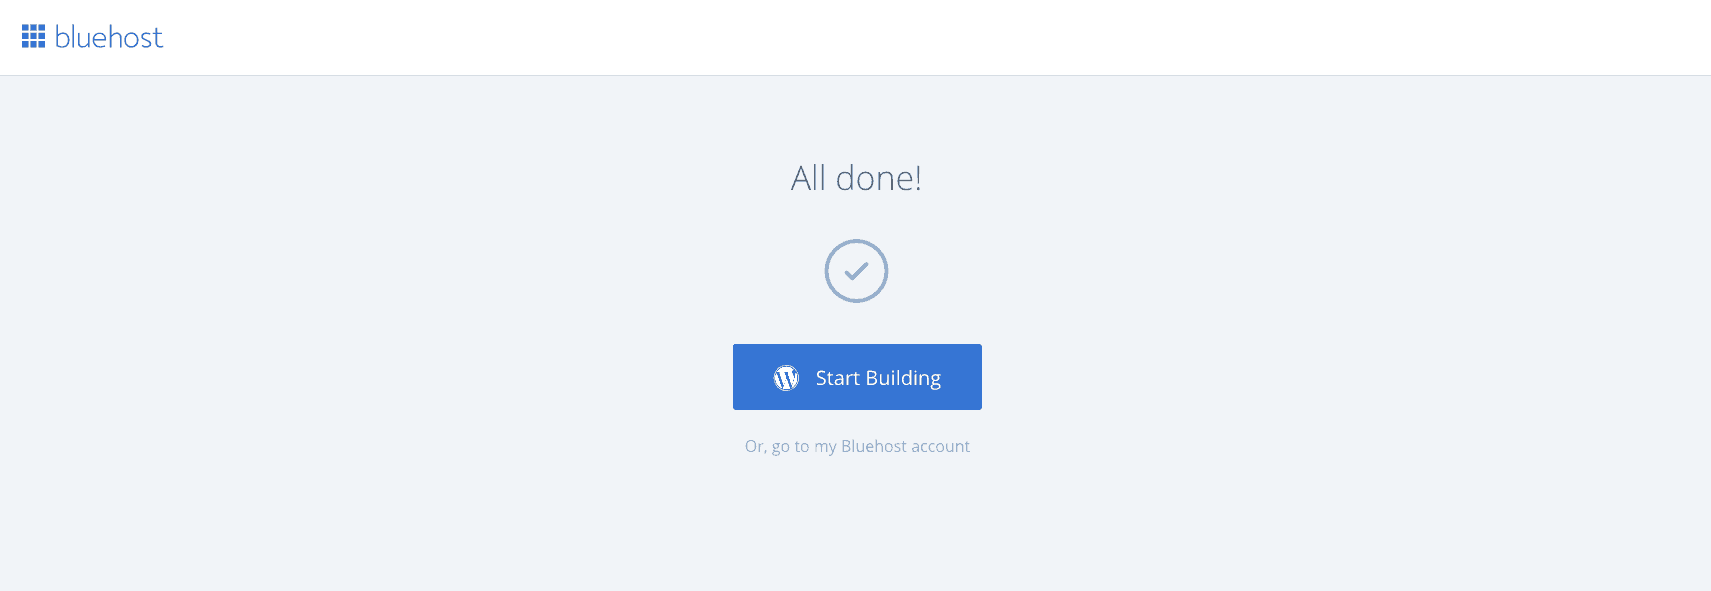
Now you will be directed to your wordpress back office where you can start customising your blog. An alternative is you will be sent an email with your login information where you can then go to ‘www.YOURNEWBLOG.com/wp-admin’ where you will be able to also login to the dashboard.
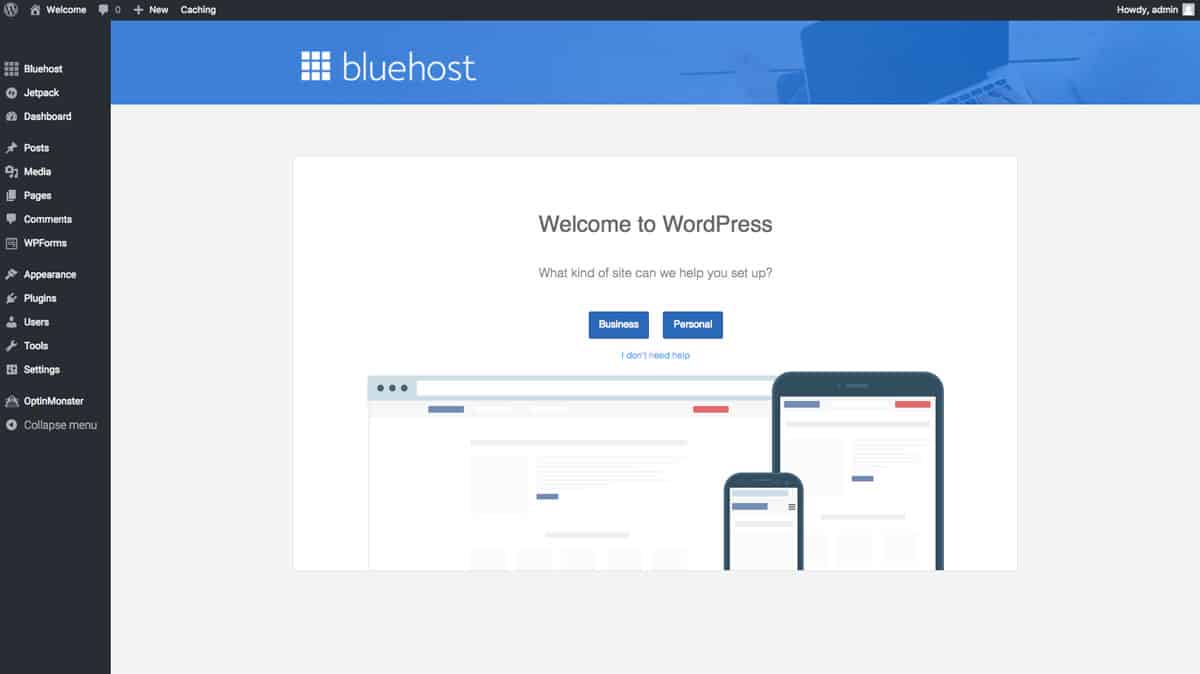
Now you will be walked through some simple questions to get the basics of your website started. It couldn’t be a more simple process! Now you can even check your website domain, and you will see that the base has been created ready for customising!
Step 3: Installing Plugins
When you first start with WordPress, you have the create it how ever you like, what Plug-Ins are add-ons that help with making your site to how you want it. Majority of plug-ins are free on the internet, some ask for donations and some have premium downloads. But here are some freebies I personally use!
In the left side bar, click on where it says “plugins” and select “add new” to search for new plug-ins. Then on the right side of the page at the top you will see a search bar. Here are some recommended plug-ins to get;

Contact Form 7 – Possibly the easiest and best looking contact form incase someone wants to contact you!
Digg Digg – This is a floating side bar with all social media share buttons on it so your viewers can quickly and easily share your posts to their social media’s.
Facebook Like Box – It will allow you to show your Facebook Fan page as a widget allowing people to like it then and there!
Social Media Widget – This allows you to put Social Media Icon’s in your sidebar so your visitors can see your social media’s
Google Analytics by Yoast – Installs Google Analytics, this will allow you to track all the visitors to your page, where they are from and how long they stay on your page for.
Updraft Plus – This is the plugin I use to back up my website for free! It is one of the most recommended plugins in the world.
WordPress SEO by Yoast – Helps you make your content so that has a better change of being recognised in search engines.
WPTouch Mobile Plugin – This makes your website look good when viewed on a phone or tablet.
Step 4: Creating ALL of Your Social Media’s
Now you’ve secured your personalised website domain and have installed WordPress and the recommended plugins, it’s time to create some Social Media accounts for your new Blog. I suggest starting with creating a Facebook Page, get a Twitter account (also grab the Periscope username too), create an Instagram account, of course get Snapchat account, get a Pinterest account and I would also suggest making a G-Mail account with your desired username too for Youtube and Google+.
Even if you don’t use them, it is better to secure the Social Media names just incase someone else tries to grab your brand identity. Trust me, it’s so annoying when someone else is running around with your brand identity as their username, so make sure you create these now!
Also in platforms like Facebook’s Pages and Youtube channels, after you reach a certain amount of like’s or followers, you get the option to change your url (eg: www.facebook.com/brokenlimitz). Keep an eye out for when your following builds so you can change that to your own brand. Instagram and Twitter do that automatically when you make a profile.

Step 5: Starting your Email List
Now you might be wondering “what is a list” or “do I really need a list?”. A list is marketing terms for all the people who have subscribed to you whether it for a weekly newsletter, a specific course you may have made or what ever the purpose of your list may be. Bottom line is YES you really do need to build a list. Ask any successful small business, blogger, marketer, anyone that is making money on or offline what they think and I guarantee they will agree with me.
So why do you need a list? An email list is essentially your most valuable asset when building a website as it will collect and store all the name and email addresses of people who are interested in the same things as you and want to hear from you. Sort of like its own Social Network but it’s directly between you and your subscribers.
The list is where you can keep them up to date with what you have been doing by sending out a bulk email (to everyone) perhaps once a week or whenever you feel necessary, but more importantly if you are wanting to recommend products that you use, perhaps a sponsors product you may have, to notify people of a meet or event you may be attending or hosting and of course warn people of something that you urge people to stay away from, this can all be done with your list.
And of course, the bigger the list the better.
There are services like Mailchimp which have free options but I highly do NOT recommend using a free service. Once again your list is very very important so you want to be building it with a trust worthy company and there are many out there, but after using a bunch of companies, I highly recommend GetResponse.com. This company has so much to offer with not only easy to use email service, but also a Free App to check the numbers of subscribers, where they are from, what time they subscribed, what list campaigns you have put them in and a really easy to use web form plugin for your website sidebar. It is also cheaper than most of its competition, score!
Click here to Get 2 weeks for free with GetResponse
Step 6. Start writing!
The time has finally come to start getting those fingers busy and writing some killer content, but what to write about? I’ve personally found that finding a about specific topic is by far the best thing to do not only for your readers but for search engines like Google and Bing too. For example I recently wrote an article called “10 of the best solo travel destinations in the world” and that post is literally just about the best places to go solo traveling. If I instead wrote a post about “My favourite places I’ve been to in the world” and a solo traveler was looking for just places to solo travel to, they wouldn’t click on it even though I am a solo traveler. So try and be as specific about one topic as possible. This was probably not the best example, but you get the idea.
Still stuck? Try this.
Funnily enough it came to me the other day. Have you ever wanted to know something and looked everywhere on the internet for it, then after hours or searching you find it? I guarantee you’re not and the only one that has tried looking for the information you were seeking and I guarantee someone else will look for the exact same thing. Why not write a post about it? Collect all the information you found out and write an article and I bet the people who land on your site will be stoked and no doubt take interest in more of your posts too!
You will need to be consistent. I’d personally recommend you try and write between 2- 4 blogs for the first few weeks so you create a decent amount of content on your site, then try at least write once a week. Be careful not to try and write too many posts in one sitting though as the quality of your posts may slip and won’t be as good as when you’re on point!
A tip of you get a little stuck while writing. Think of one of your favourite blogger’s recent posts or an article you may have come across on the internet recently and go through what you like about it. Maybe you liked the layout? The photos? Headlines? How it’s written? Think of all the qualities you liked about it and implement those to your posts!
Step 7. Making it look good
Hopefully before you do this step you have about 10 posts on your site. This way it’s easier to move everything around, see what looks good and what doesn’t and try out new layouts instead of moving around an empty site. Makes sense right?
Now it’s time to bring out the artist inside you and go shopping for what you want your site to look like! There are a bunch of free themes in the WordPress back end under “Appearance” then “Themes” in the left hand tool bar and there are hundreds to choose from there. If by some chance you don’t find one that tickle’s your fancy, you can always go to Google and search something like “Free WordPress Blog Themes” and find your perfect one in there.
Once you have your theme installed and your layout is looking on form, it’s time to start thinking about going the extra mile and making it stand out from the crowd. Making things like Logo’s, Header’s, Favicon’s and customised background tailored to your blog and showing your personality will give you the x-factor and seperate your blog from anyone else’s.
Of course if you’re anything like me, you have no idea what it they should look like, how to create them or even how to draw lol. Luckily there are places like Fiverr where you can get everything you could possibly need for your website starting at $5 a gig. I’ve used Fiverr so many times and it’s really really good. My advice for using Fiverr is go for gigs that have 1000’s of good reviews and try be as specific as possible. Even if it takes a few days longer than other lower reviewed gigs, the quality will be more consistent giving you a better chance of the best looking end product.
Step 8. Getting big as fast as possible
If you’re already confused or feeling kind of overwhelmed, don’t worry it’s normal.
When I first started trying to build a profitable blog, I literally had no idea what I was doing. I’m a carpenter by trade and there’s definitely no hammer or nails in this laptop, but I was so focused on making a successful blog that I decided to put in the hours, no matter what it took I would make it happen.
Well I took the long way.
It turns out learning WordPress, Social Media, writing good content and a bunch of other internet stuff is like learning Chinese. Not impossible but will take a long time learning by yourself. After countless nights of Youtube tutorials, Google searches and copious amounts of coffee, I decided it was time to get some help.
After looking in my local area, I noticed that there weren’t many (if any) local courses on Social Media and building blogs. It turns out that’s because the internet is forever changing trends, coding and algorithms which means it can’t be taught at institutes. Literally because it could work one day but not the next and that wasn’t sustainable for a curriculum. Sounds a bit overwhelming right?
Well funnily enough, I looked on the internet and found an online training program & community called Superstar Blogging. It sounded perfect considering I was looking to build a travel blog and wanted success with it. As it was based on the internet too, a team of researchers kept the trainings up to date and they also had a support area where members could chat, ask questions and share posts. After a bit more research I found out that some of the worlds most recognised travel bloggers were also apart of the program and recommend it on their own personal blog as a “go to training course”. So with that being said I jumped onboard.
I can safely say that this course has helped me cut off months if not years in the lifeline of my blog because there is a right and way to do things. Most people will stay in the dark for 2+ years before they get ranked on Google but I managed to do it within a few months! I think though the best part is definitely the Private Facebook chat groups, I get more up to date information about the web than any other community I’ve ever been in, not only that but also offers to collaborate with other companies and writers to reach a bigger audience.
This step is fully optional, but if you do decide to join Superstar Blogging, I can recommend some great articles inside the group and in the program that will really help you move fast!
Step 9. Sharing the love
What a ride it’s been so far hey. If you’ve been following the steps as you go, by now you will have your own customised website with its unique domain, it will have all your social media’s connected to it and you’ll have 10 or more published on your site. You may be also starting to go through the Superstar Blogging course and learning all the shortcuts to building your blog.
Awesome work! I really mean it. You have the upper hand on at least 500,000 other blogs out there and are on the path to making it a great success. So what’s next? Sharing the love, and no I don’t mean it in a naughty manner.
What I recommend you do now is start to share all your content across your social media’s that all link back to your blog. Reach out to other travel bloggers and make friends, comment on each others posts to make engagement go up. Build a great network full of travel bloggers and travellers. Send newsletters to your subscriber list every week or so. As simple and silly as those things sound, from that I have been approached by companies almost weekly now wanting to collaborate, people wanting to go on adventure campaigns together, companies offering sponsorship.
Crazy how it all works but hey, it works!
(Secure your domain now at BlueHost)
How to start a travel blog
I hope this has provided some kind of value to you, these steps will effectively show you how to start a blog and I can recommend them from experience. If you do get stuck, let me know so I can update the missed steps to the post! Also if you like this post, be sure to comment below and let me know!
Hey Phil,
Great post – thanks heaps it’s incredibly helpful & you have helped take the hard / guess work out of setting up a blog!
Cheers,
Sarah
This is the best article of this nature that I have ever read. I’ve been researching this topic for a while now. I started an Instagram, I’ve been writing guest posts, spending hours of learning and your article is by far the best one out there. Super detailed. You definitely thought of everything. Cheers mate!
This is great Phil! Makes all the steps seem very doable, and really tempting me to practically jump start. Although I’m still afraid.
Afraid my writing is no good. No one will read it. I’ll run out of things to write, to talk about and so forth.
And still in all the readings I’ve done, there are no specifics as to how these start making $$ for you. I worry I may not do that part right too.
No problems Sarah 🙂 Glad it’s helped!
Glad it’s helped Nikki! I’ve only learned from my own mistakes, so I hope others will save some time following this!
I’m hearing ya Suz! My writing isn’t the best but the way I see it, is i’ll get better over time! It’s like anything in life. If you believe you can do it, then i’m sure you can! The best part is, it’ll stay around for a very long time, so friends and family can check out your entries with you!